< back
backstory
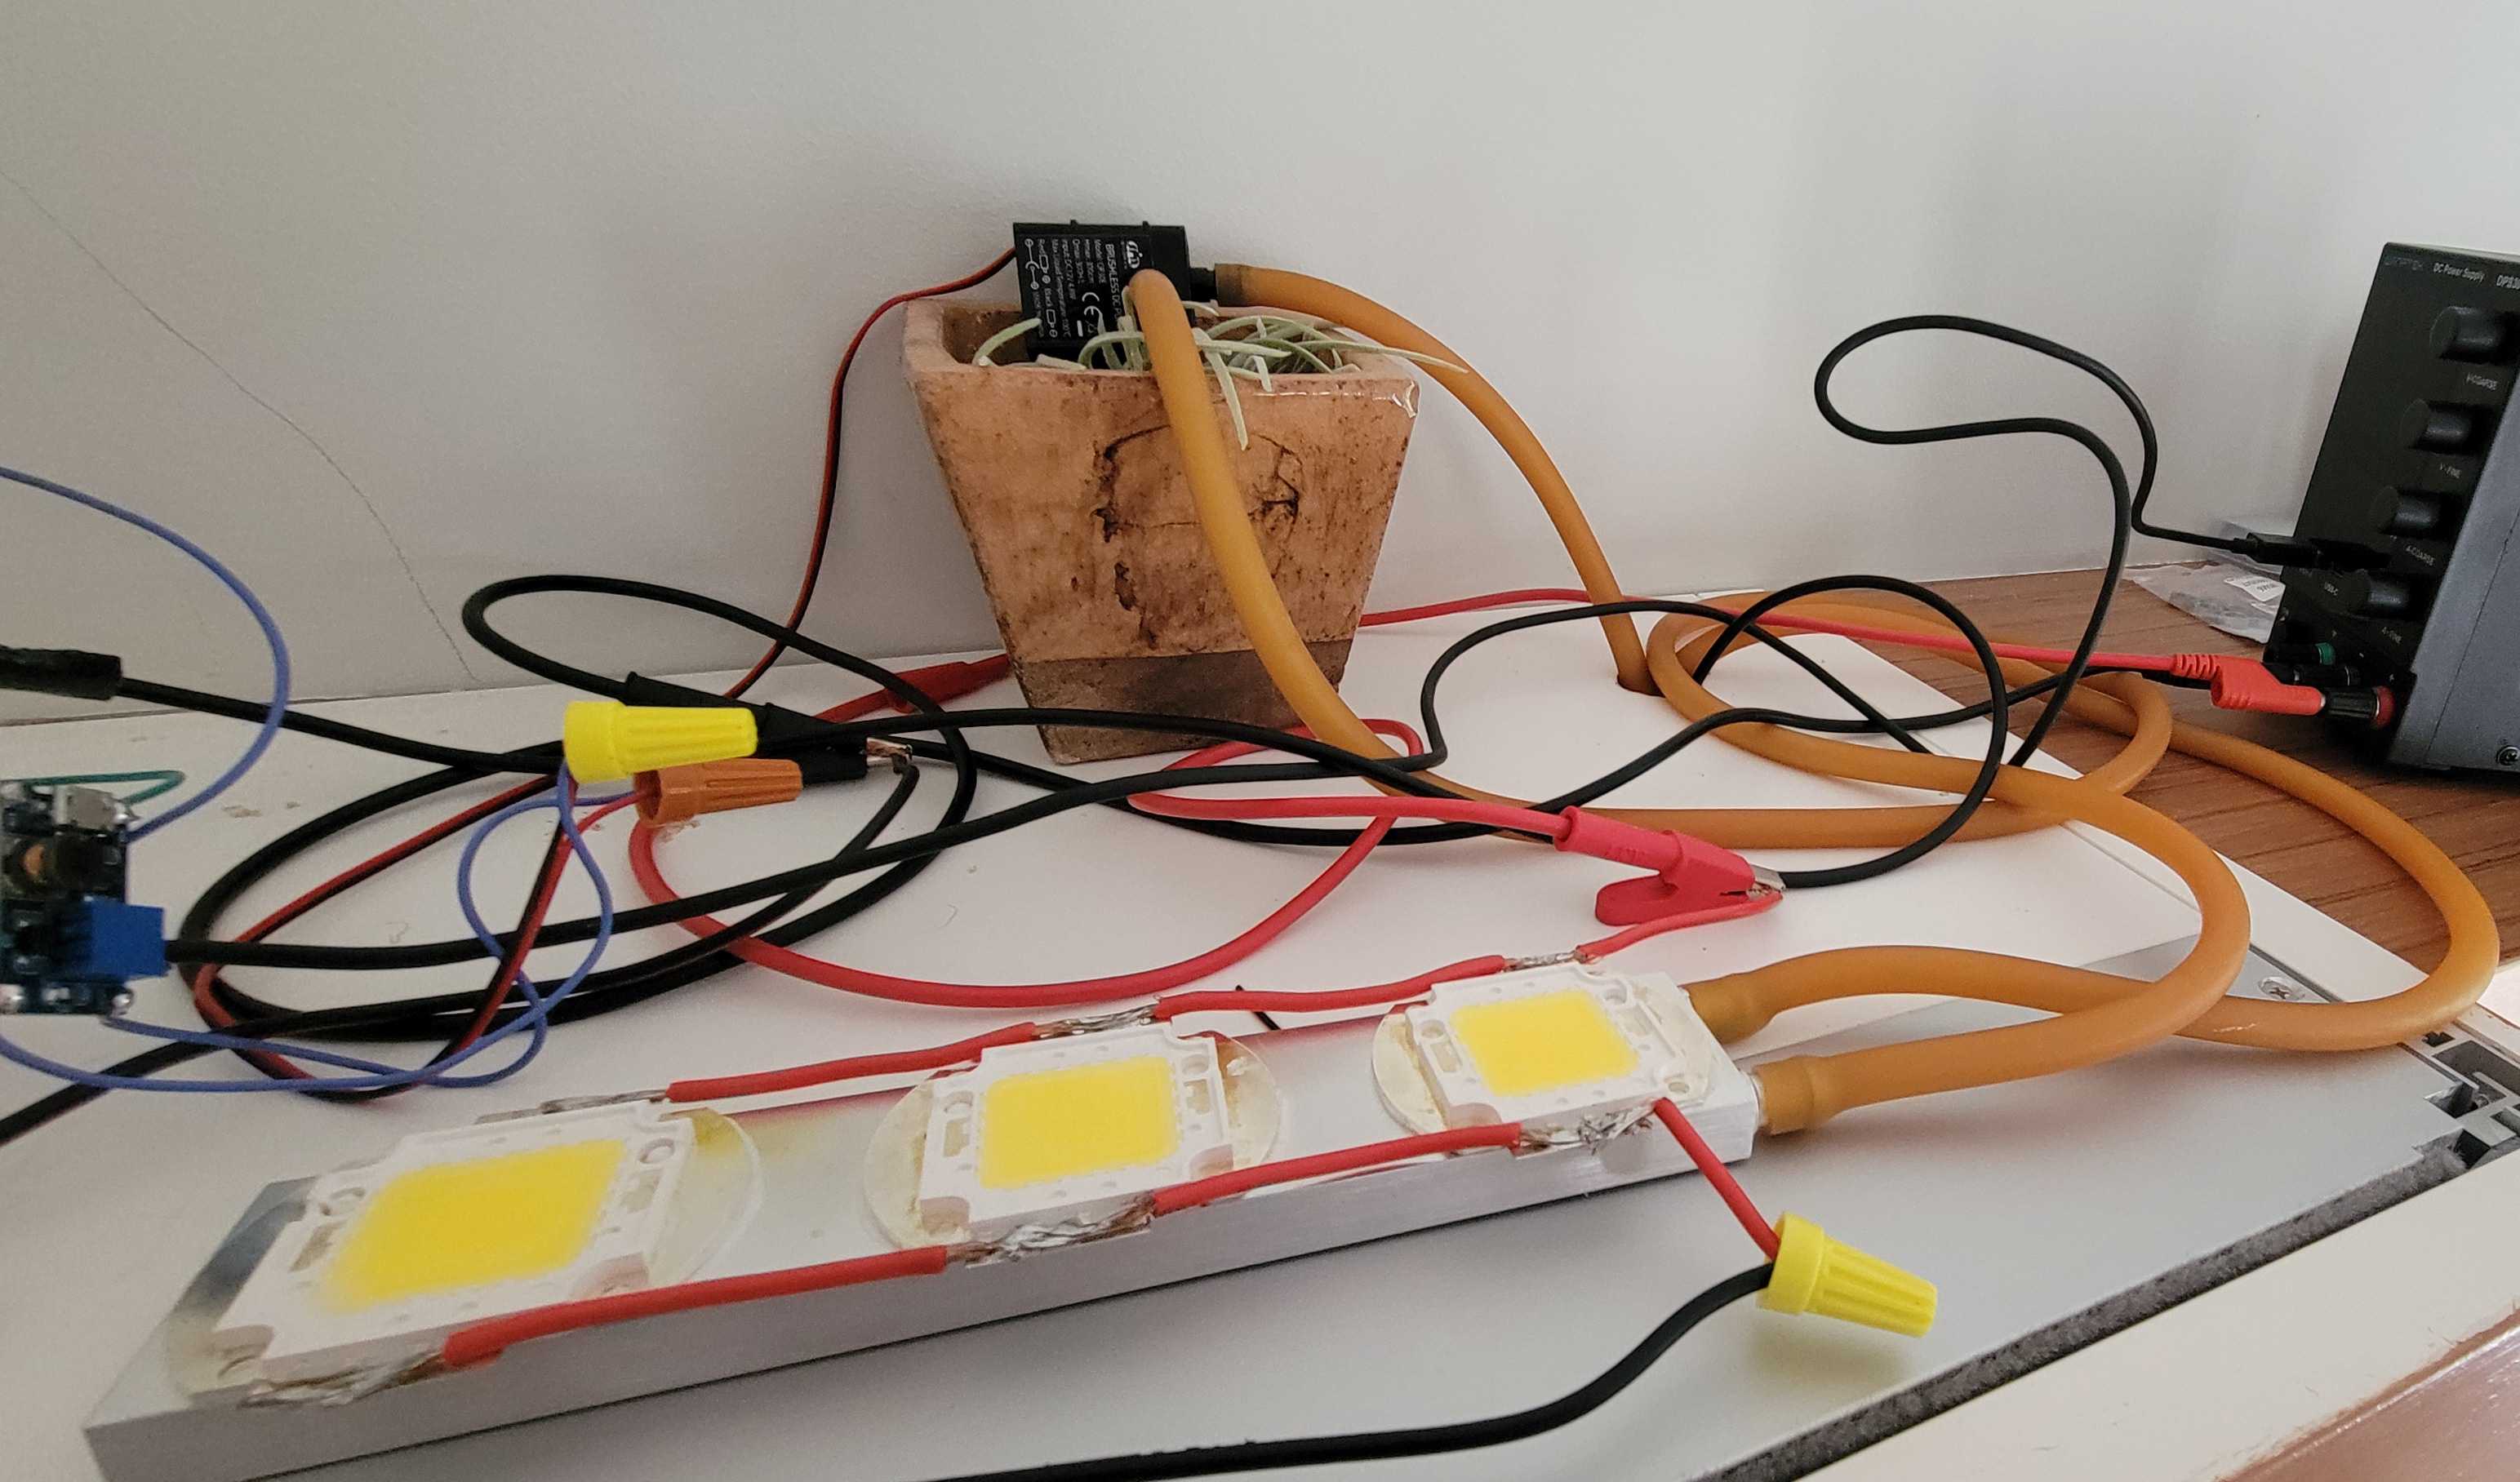
About a week ago, I was digging through some of my old projects, when this little contraption caught my eye:
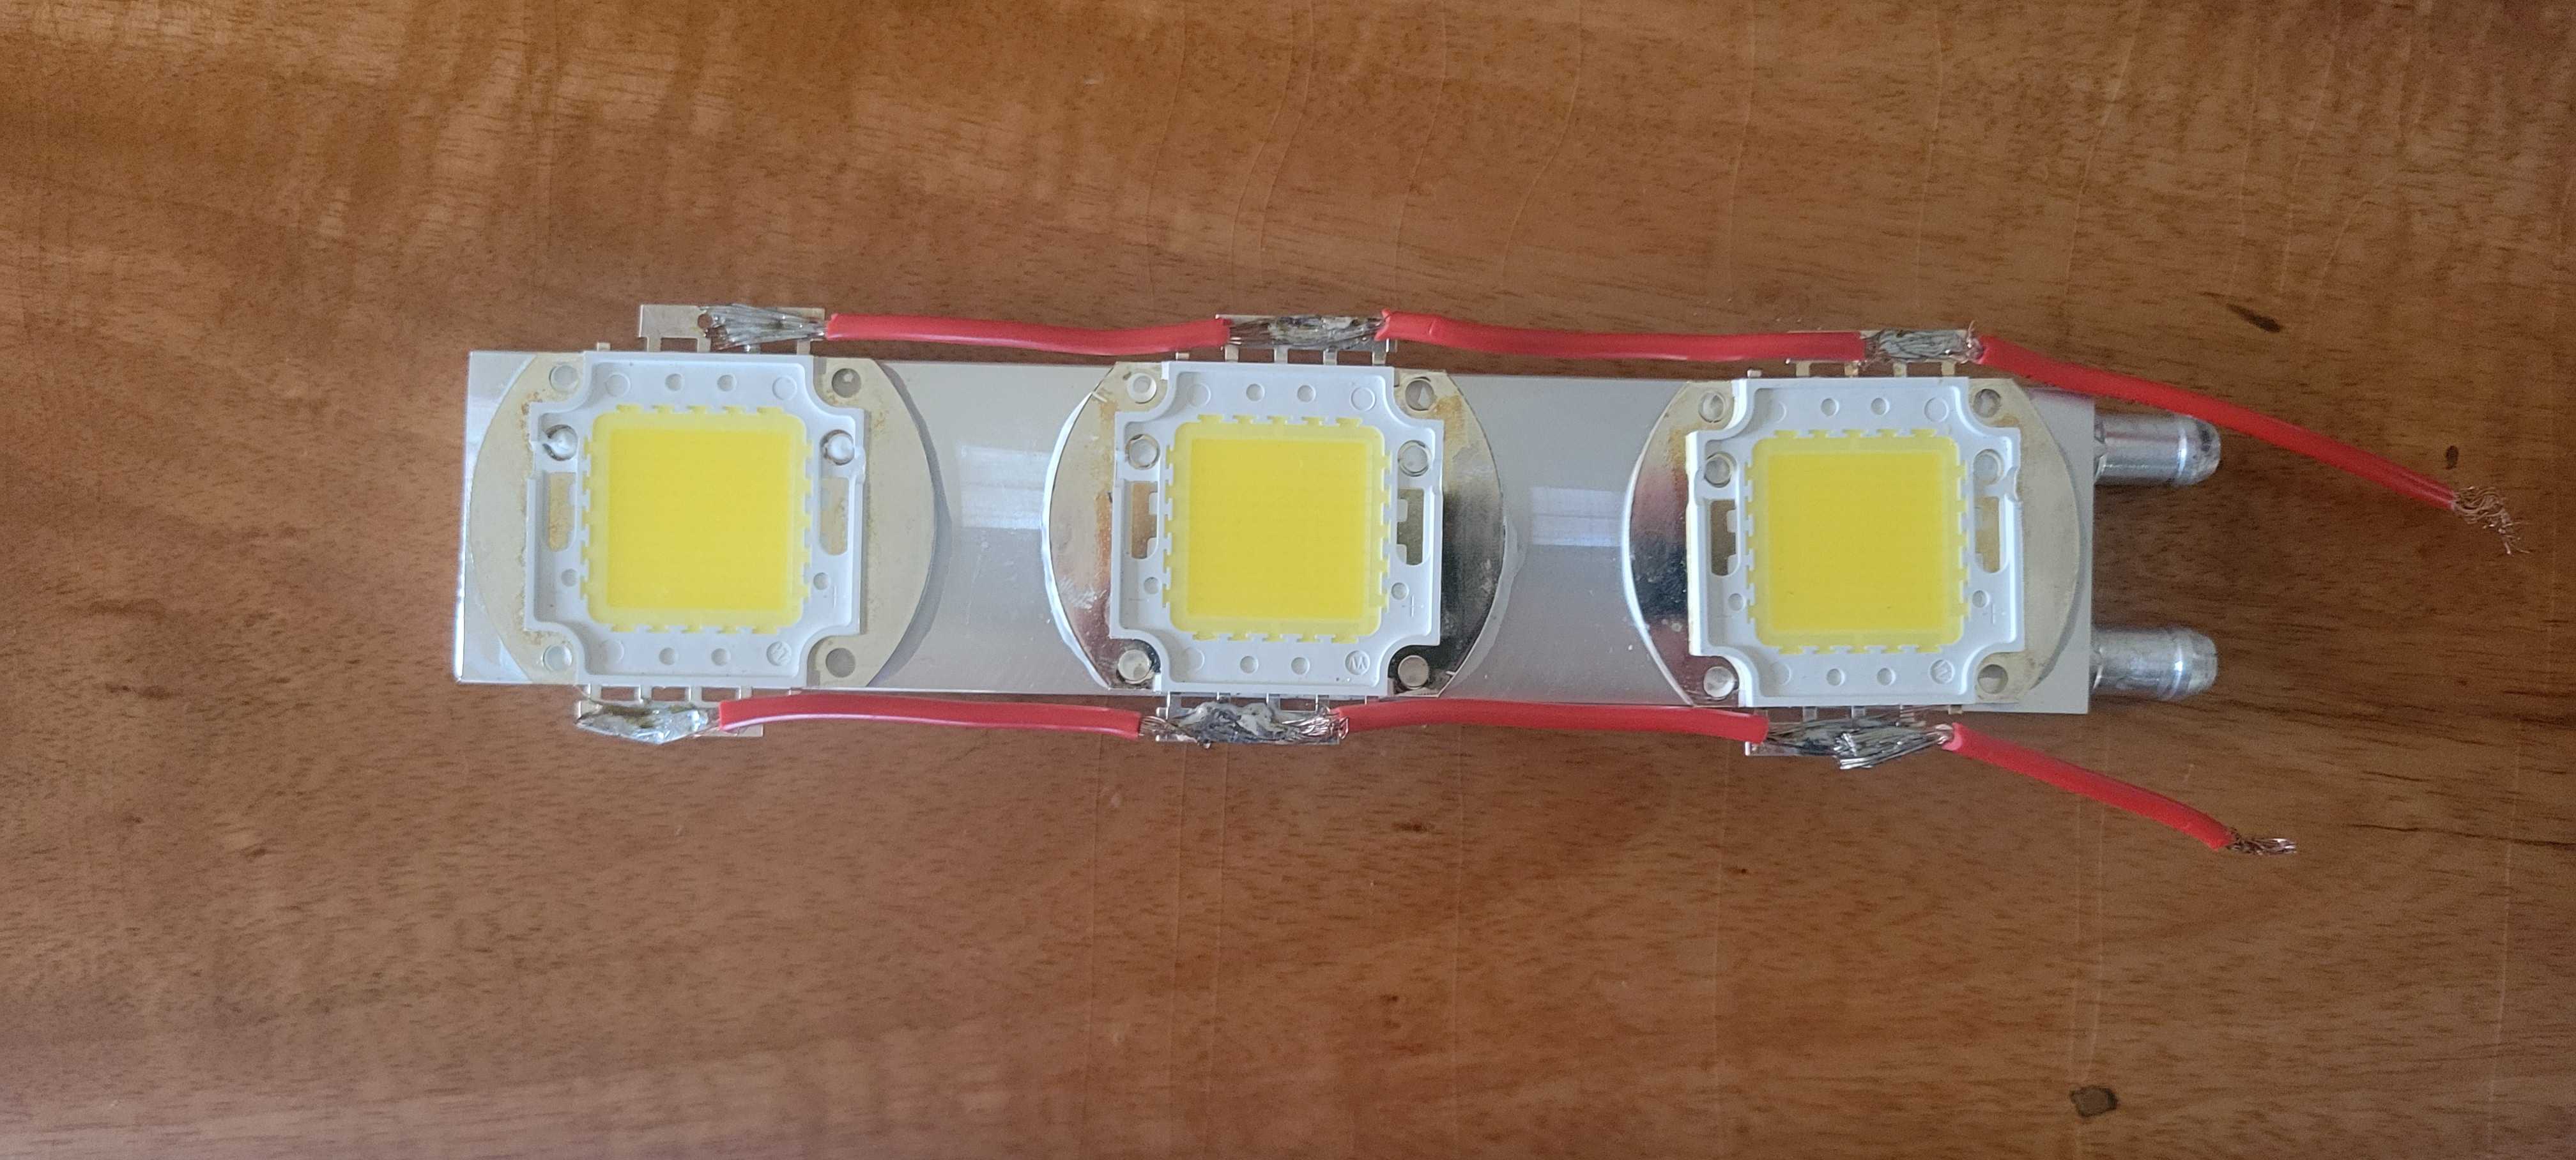
It’s a (really shoddy) LED array! The three chips on the top are 100W-rated COB LEDs, and they’re mounted to a water-cooling block—I didn’t have a good way to properly attach them, so I just stuck them on with thermal glue. I probably would’ve put it back, but an idea kinda popped into my head:
<me> hey, you know those 'sunrise alarm clock' things?

<also me> oh yeah, what about 'em?

<me> what if we, like, made one with a couple more orders of magnitude?
<me> i mean what's the purpose of a 'sunrise' clock if it doesn't at least try to match the raw power of the sun right

<also me> ...
<also me> your genius and ingenuity astound me sometimes
<also me> we shall get on this immediately
installation
These LEDs are (as a rough guess) around 20% efficient, meaning that we’ll need to figure out how to carry away around 240 watts if we run the array at its rated output. The array’s already mounted to a water-cooling block, so all I had to do was put together a rudimentary water-cooling setup with some stuff I had around. After a bit of scavenging, I found some old latex tubing, an aquarium pump, a boost converter, and a random plastic bucket, which was just enough for me to feel confident in running this thing at full power:
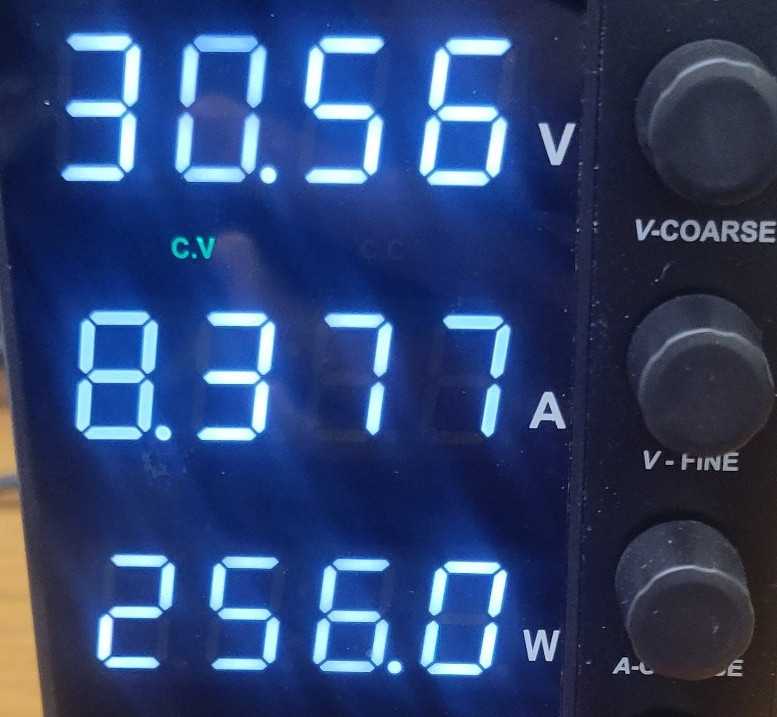
(it’s a little under rating since my psu doesn’t go up to 32 volts, but it’s close enough)
To the horror and disappointment of everyone reading this, I decided this was probably sorta kinda good enough for installation. After moving some stuff around and drilling a couple holes, I managed to shove everything that was just on the floor into a cabinet.
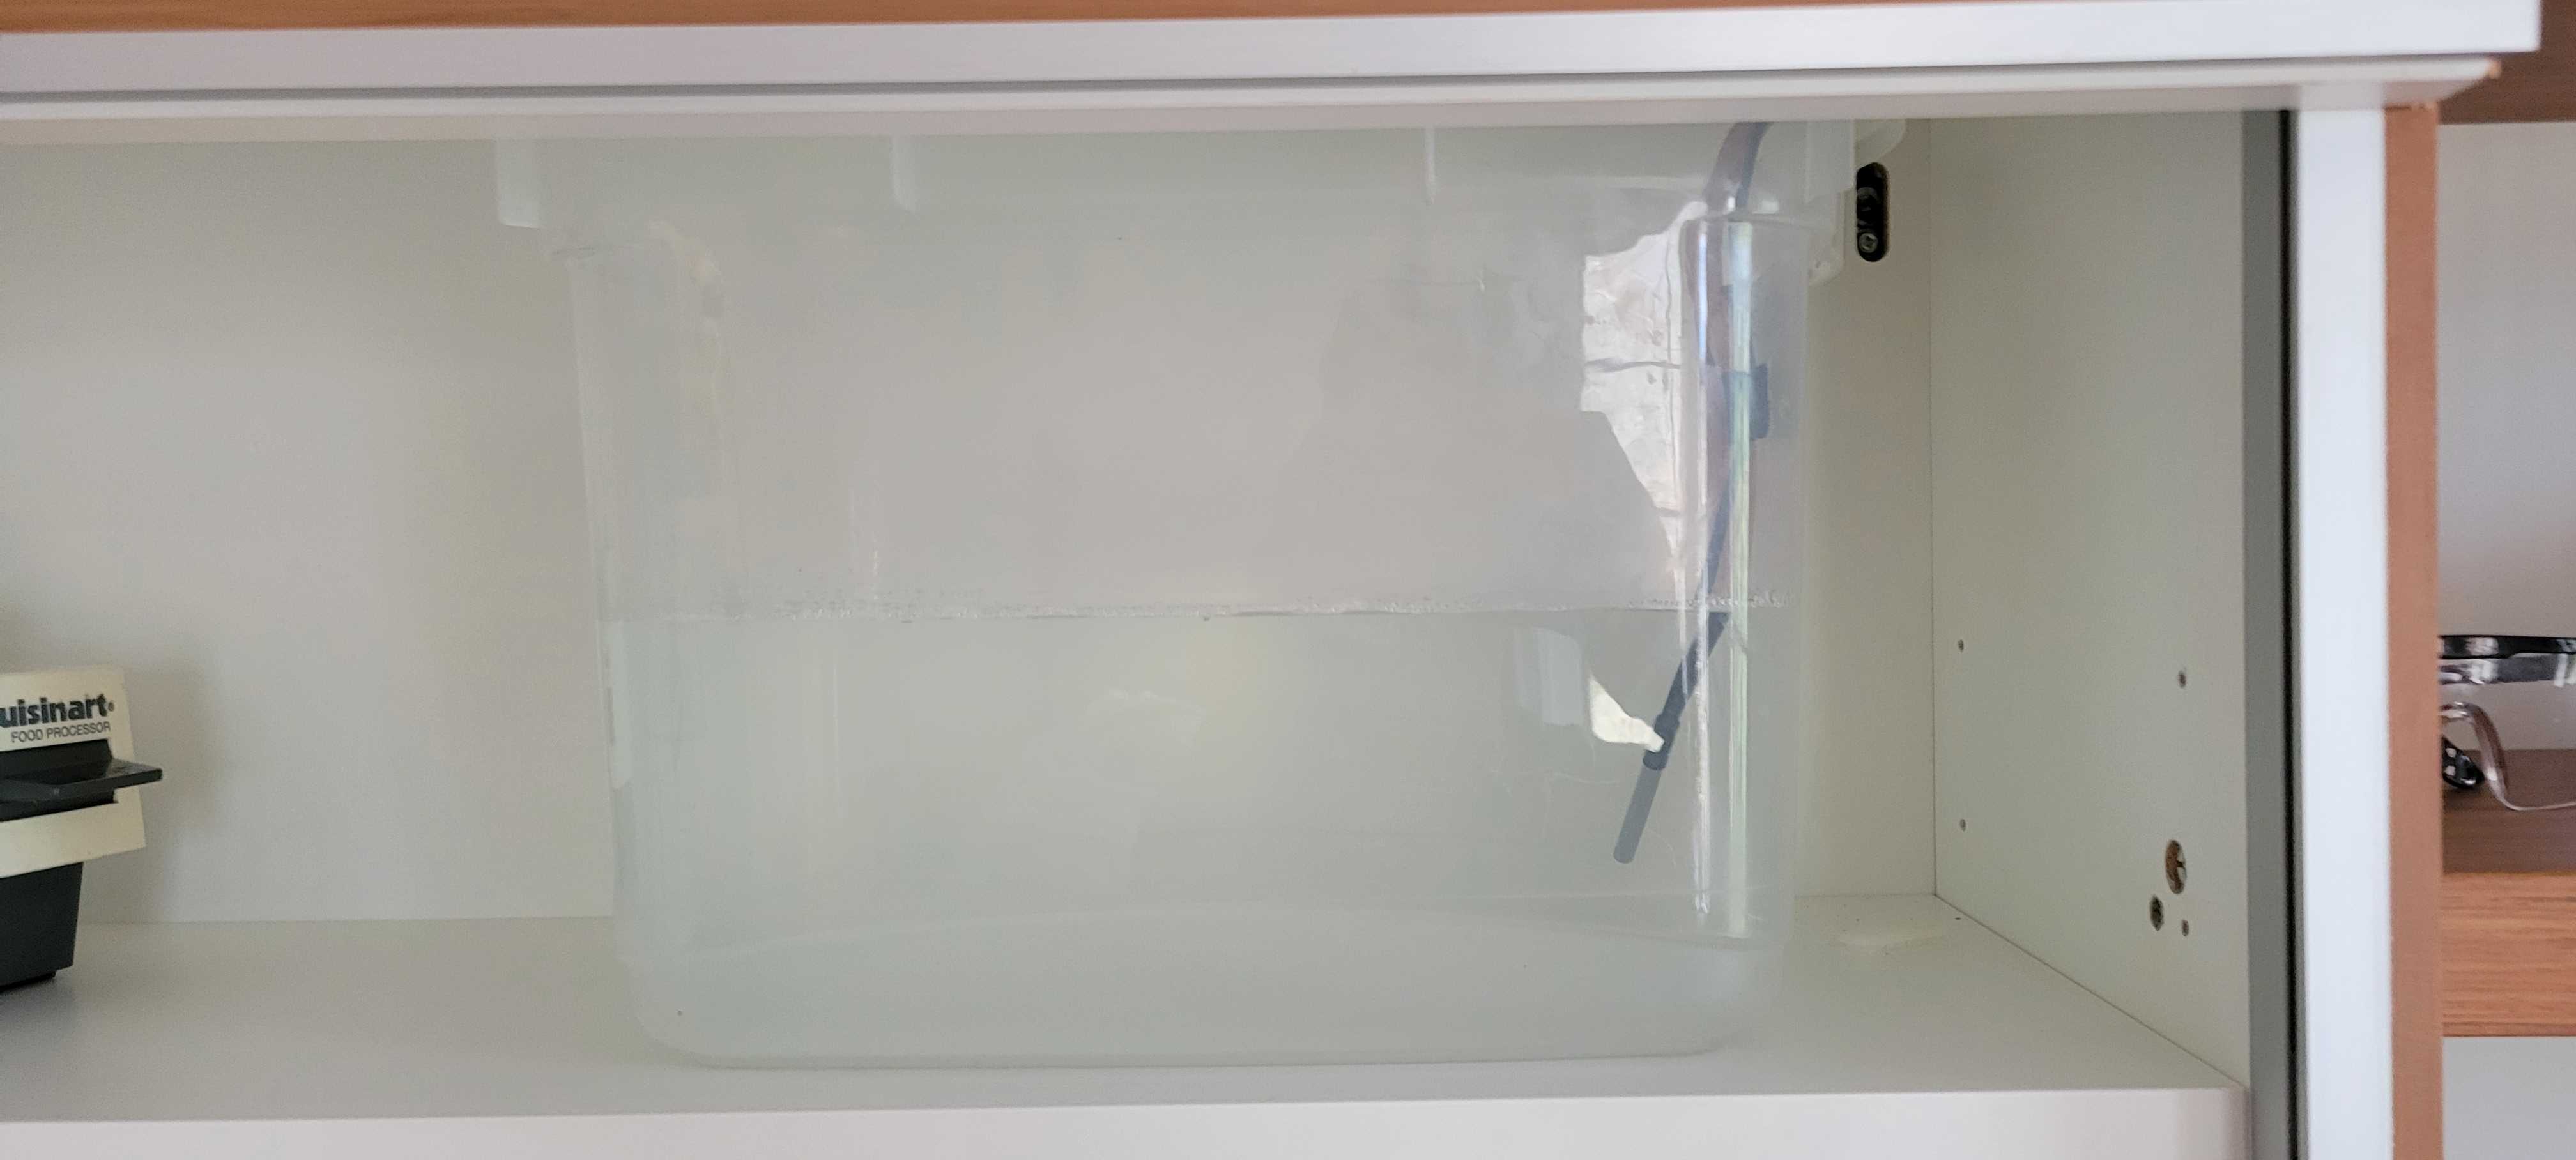
why is the pump just sitting in a planter? your guess is as good as mine
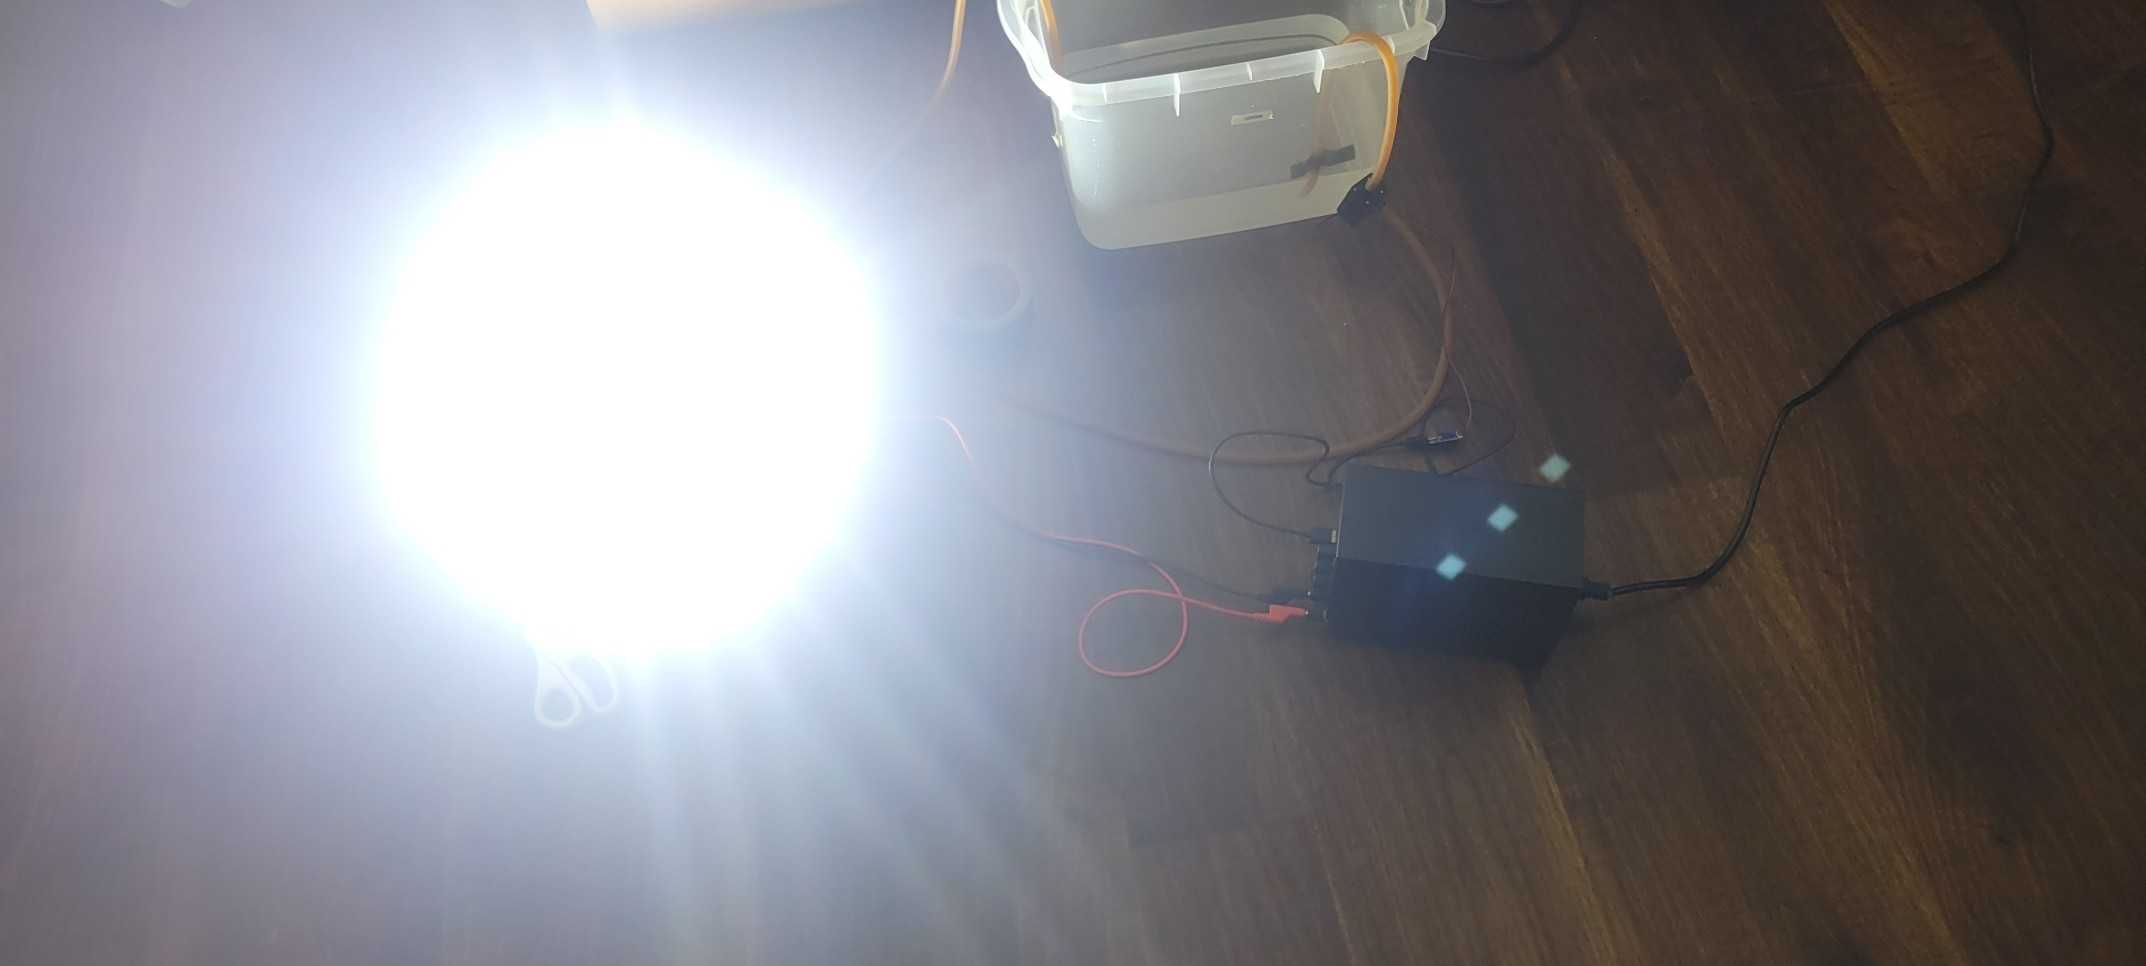
And that was about enough to turn it on! It’s not mounted yet—the array is literally just sitting flat on the top of a cabinet—but it’s so ridiculously bright that you can sort of get global illumination just by pointing it anywhere. (though my walls being painted white definitely helped out a bit)
controlling the thing
I wanted to be able to dim the array over http, so just having it directly plugged into a power supply wouldn’t do. I stuck a few (definitely counterfeit) rfp30n06le fets to another watercooling block with some thermal tape. After a dodgy soldering job and some breadboarding…
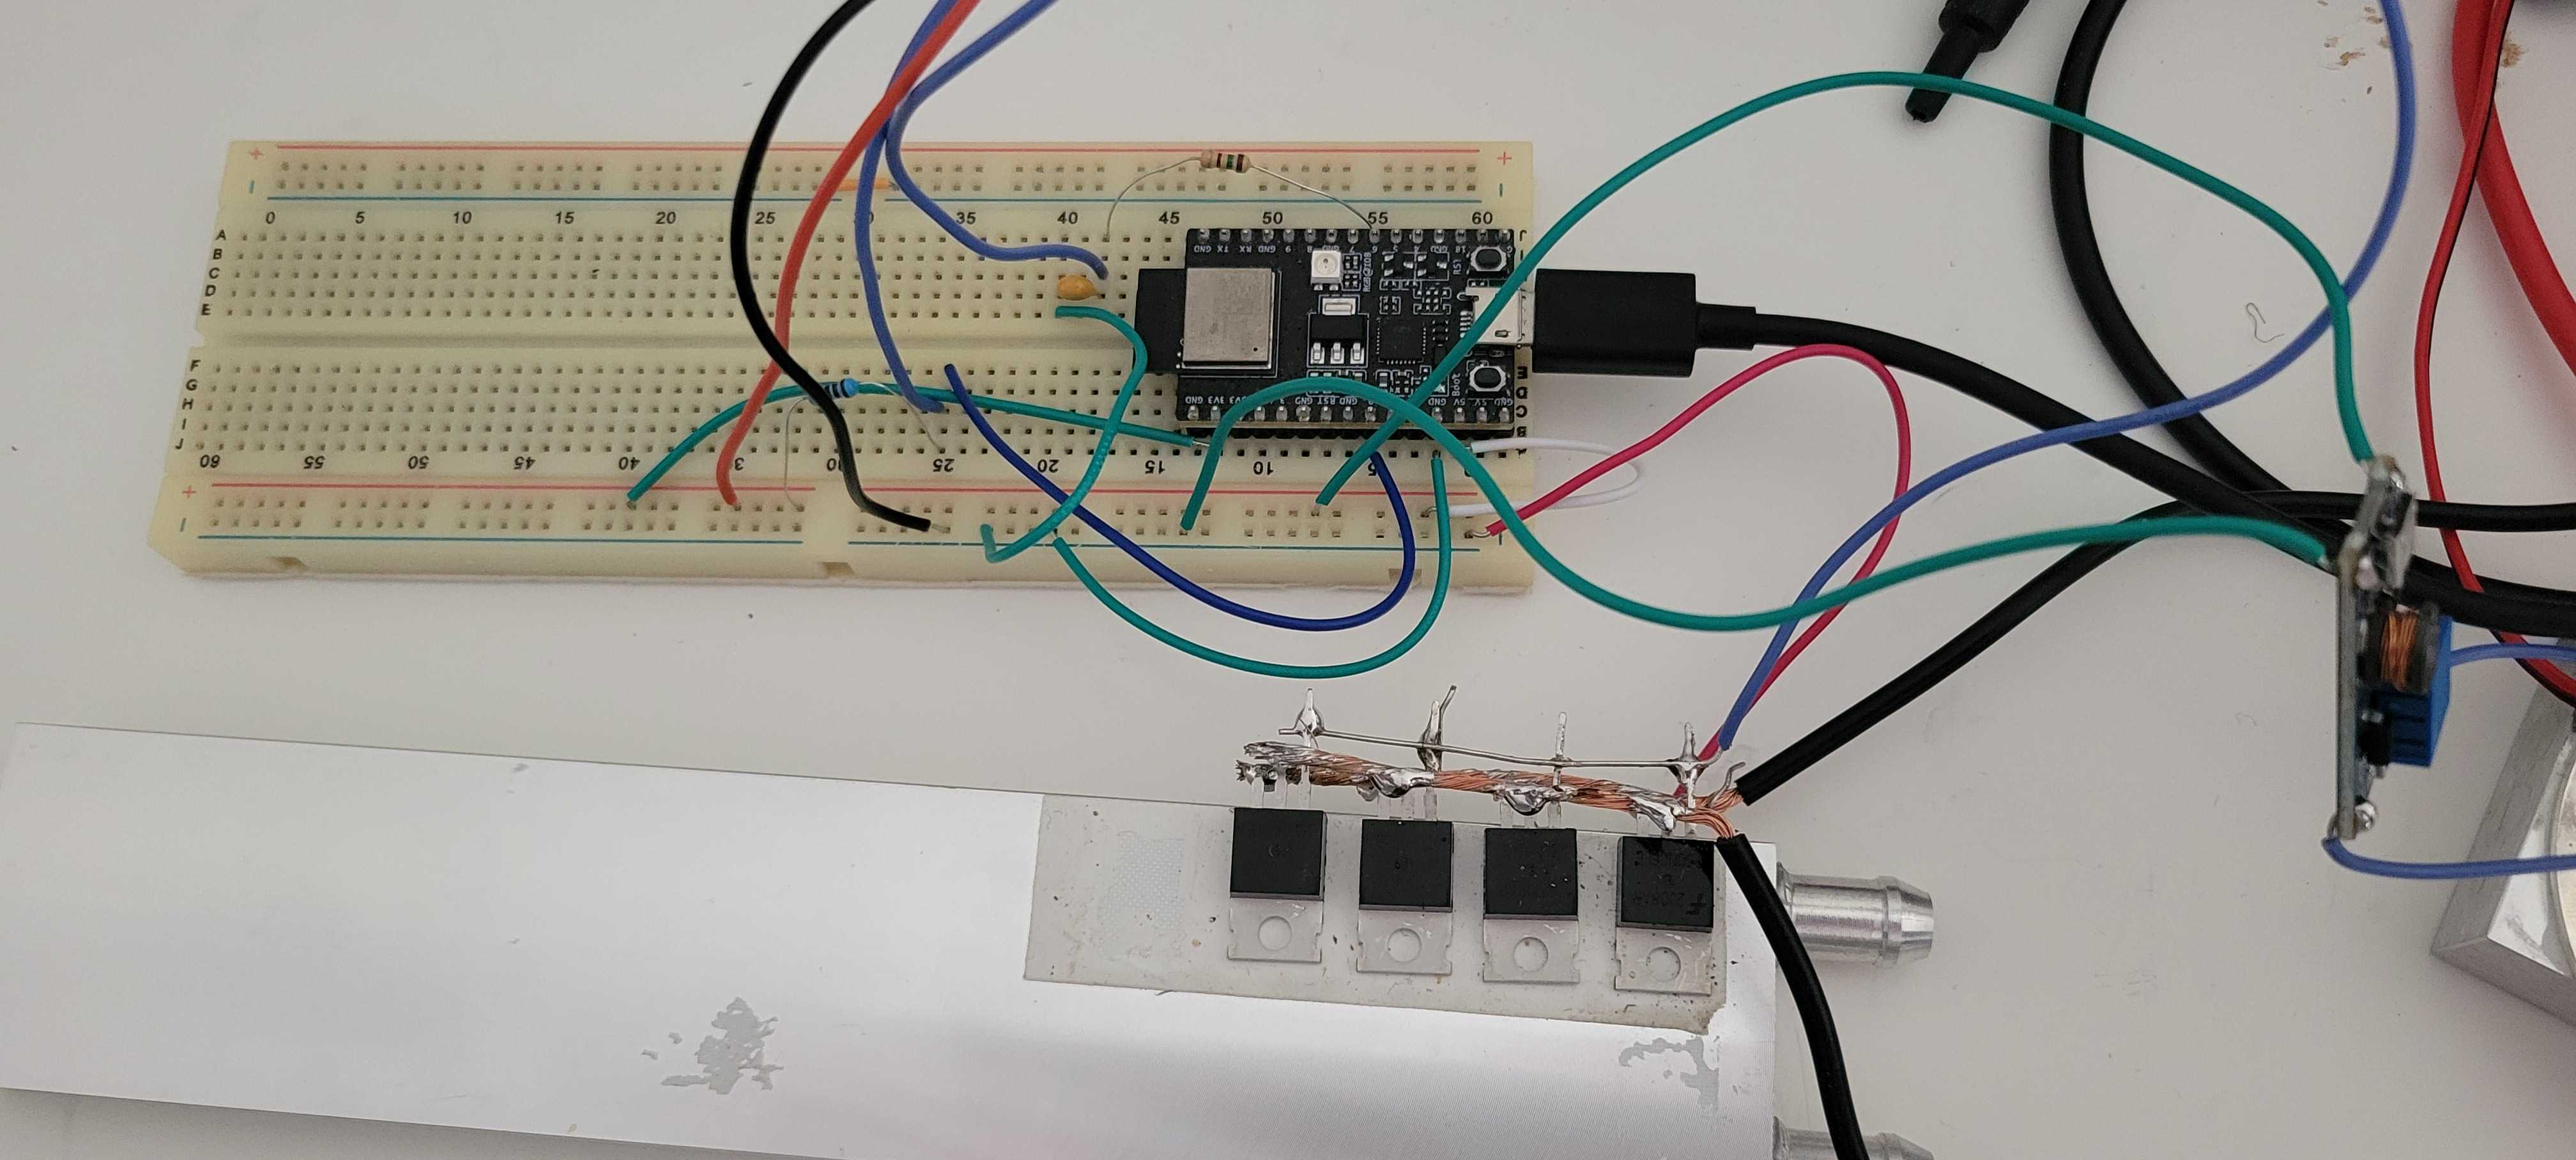
my Contraption™ was ready to be programmed.
I’ve been wanting to move away from using the arduino framework for a while now, and this project seemed like a relatively simple way to get started, so I went ahead and preemptively vendor-locked myself in by making this project in esp-idf, espressif’s dedicated development framework for their socs.
Thankfully for this project, esp-idf has a really well-documented http api, so well-documented that there’s already an example project that does almost exactly what we want to do. I cloned the project and modified it a bit so that it actually controlled the leds (the esp32-c3 and iirc all of espressif’s socs also have a hardware pwm controller with a fairly nice api somewhat tailored to this purpose) and made the temperature endpoint actually check the value of a temperature sensor, and soon enough I had a neat little rest api:
/api/v1/status, GET
{
    temps: {
        reservoir: 22.375
    }
    brightness: {
        red: 0,
        green: 0,
        blue: 0,
        warmwhite: 0
    }
}
/api/v1/brightness, POST
{
    red: 0,
    green: 0,
    blue: 0,
    warmwhite: 1023
}
I coded together a command-line client in Rust, also partly as a Learning Exercise™. There’s not too much worth mentioning about it here, but here’s the main help page if you’re curious:
Usage: blights <COMMAND>

Commands:
  up    increase brightness
  down  decrease brightness
  set   set brightness
  help  print this message

Options:
  -h, --help     Print help
  -V, --version  Print version
mounting
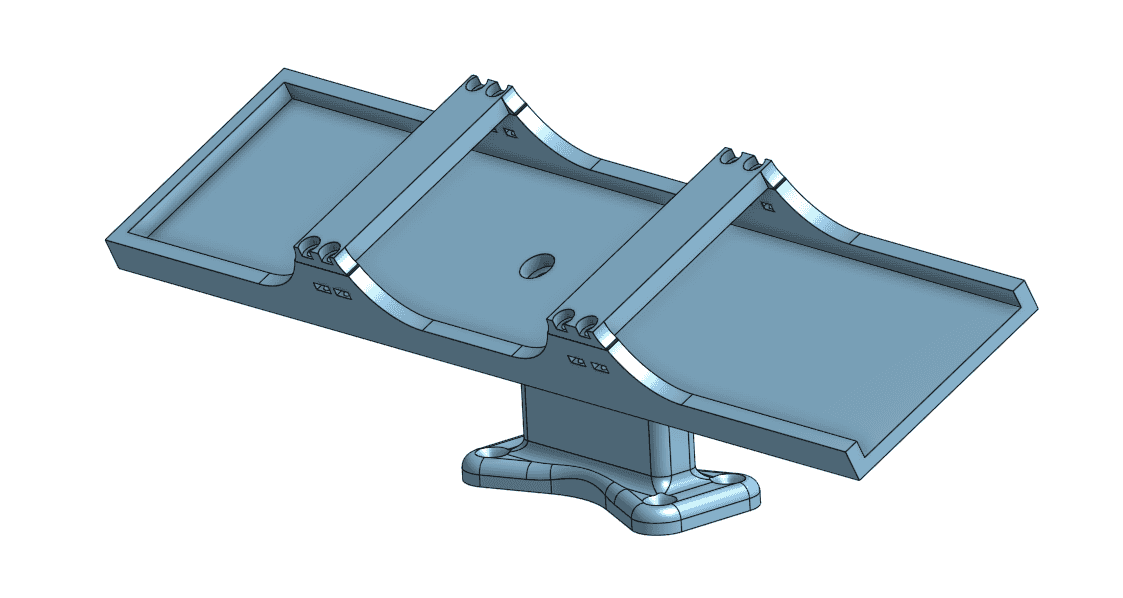
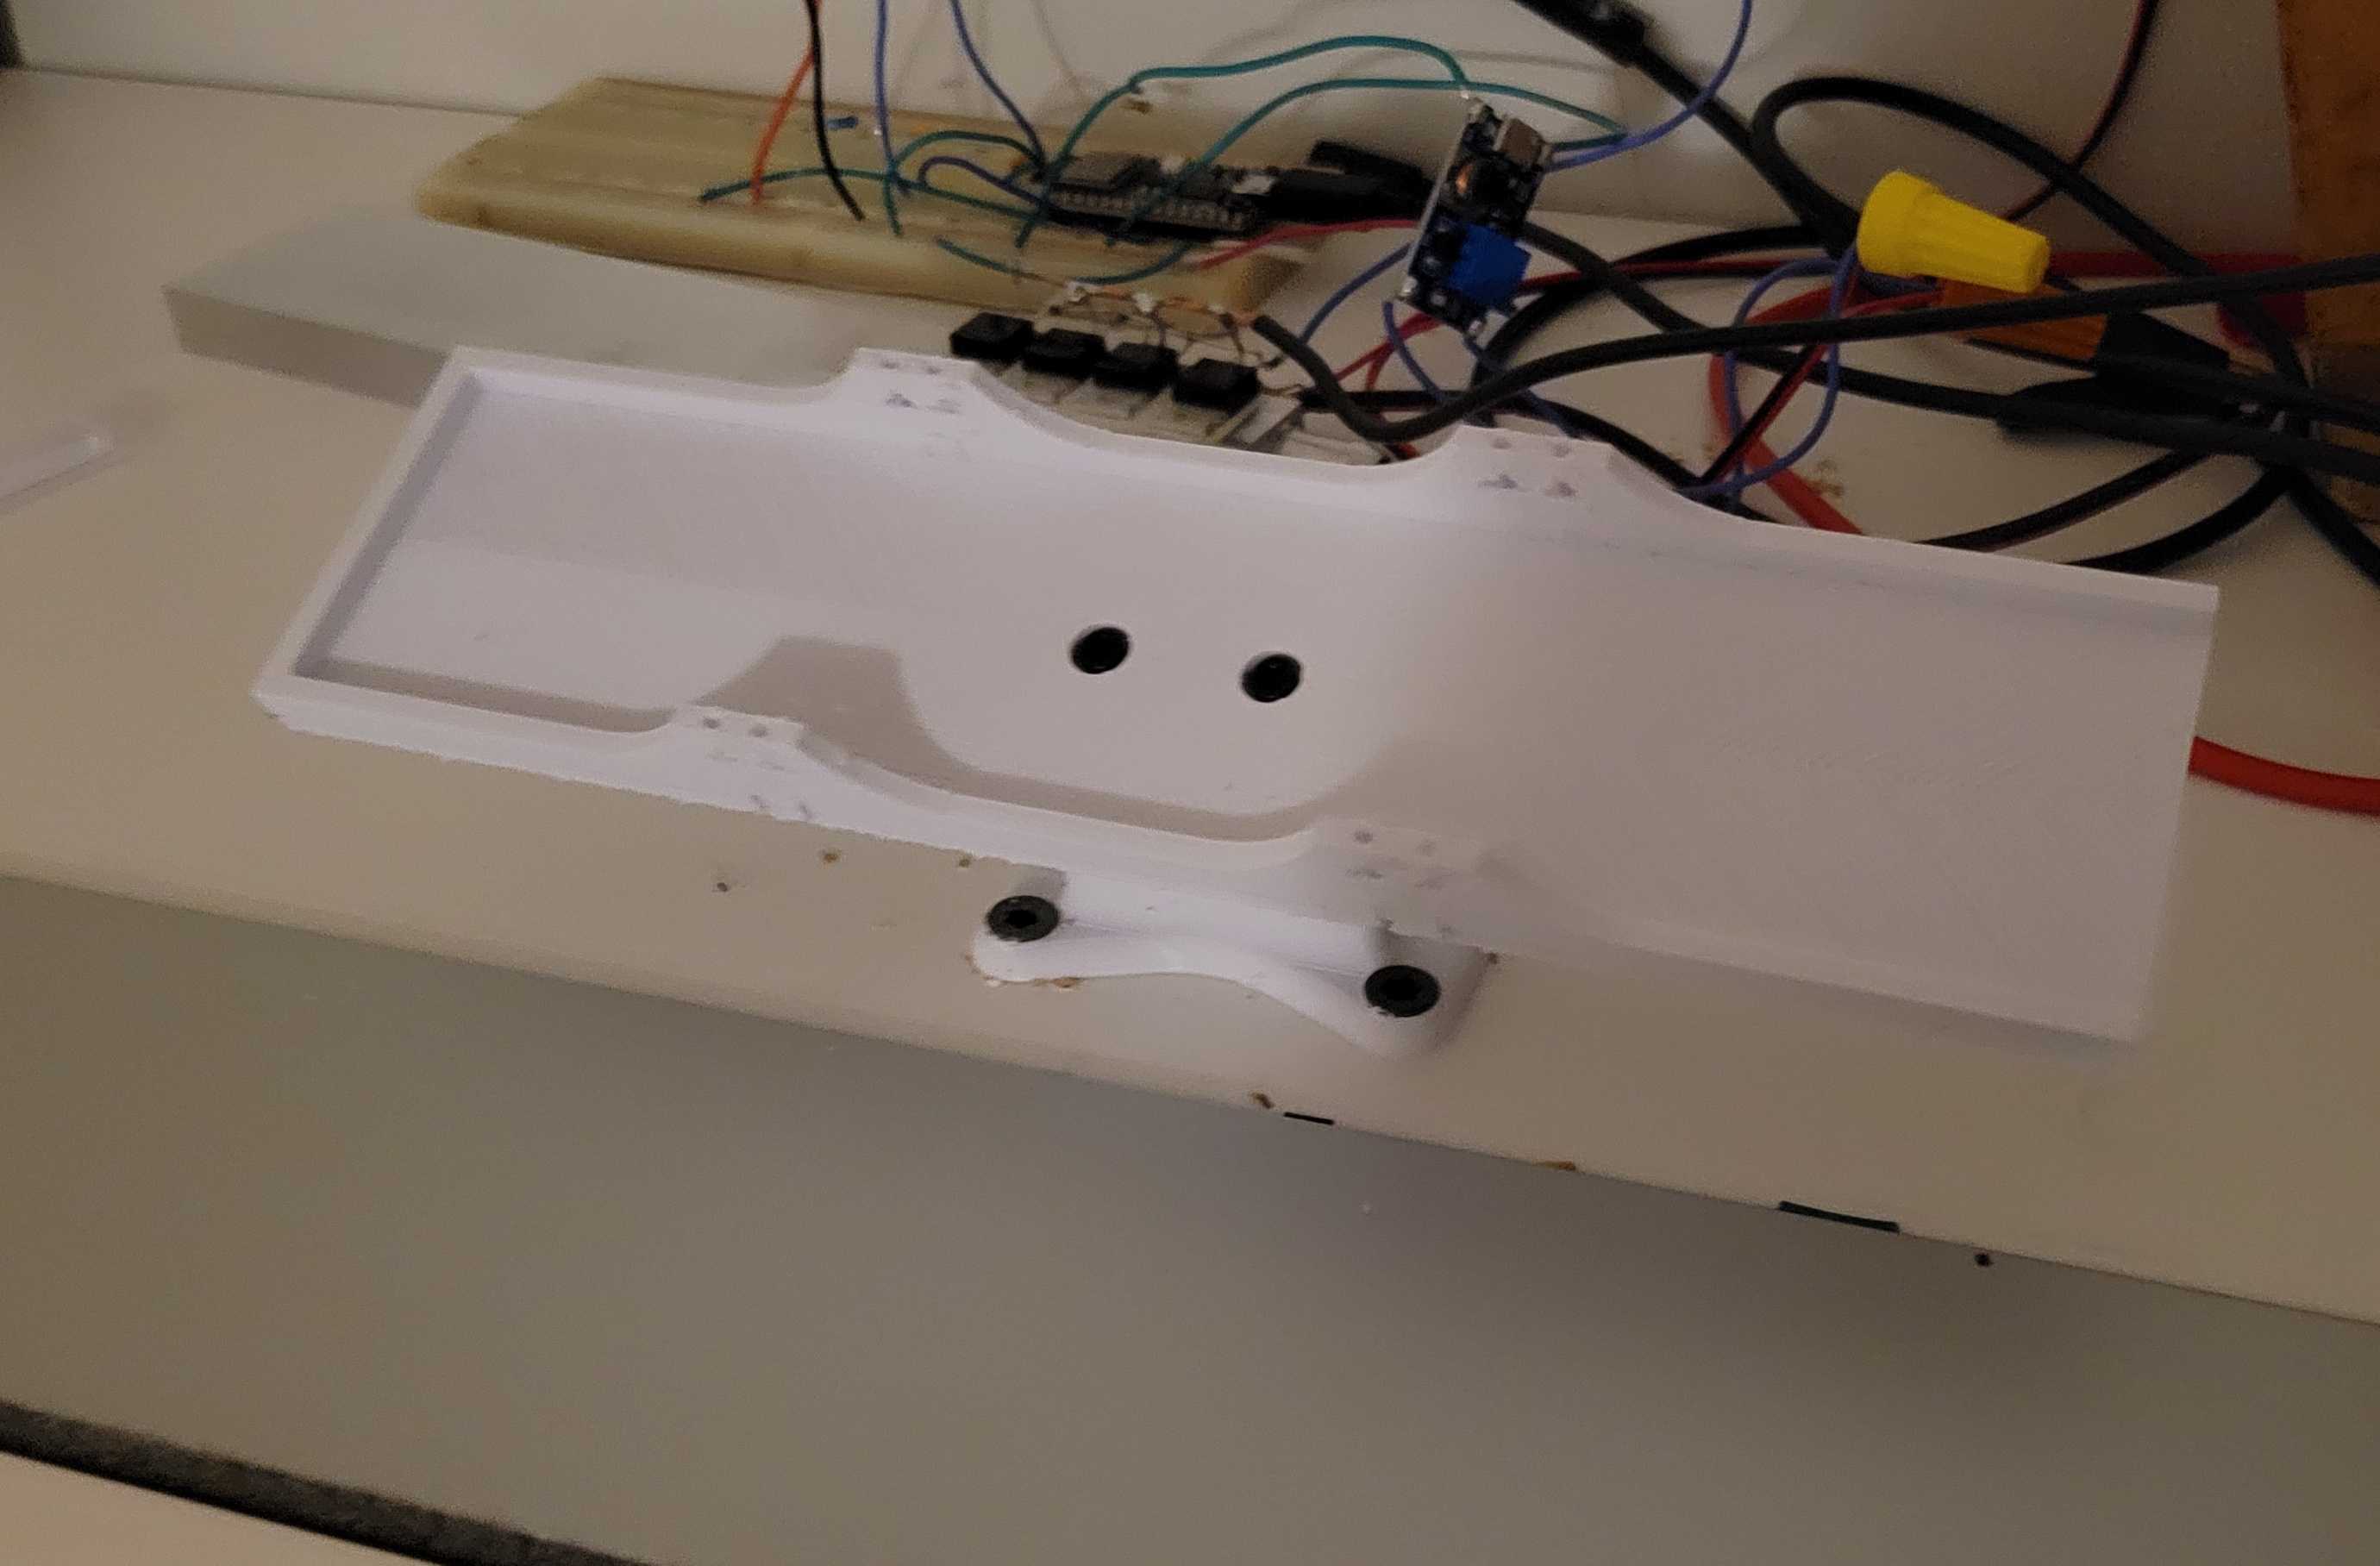
Finally, we can get around to actually mounting this thing. I took some measurements of the LED block and designed a 3D-printed holder to keep it upright, then printed it out and mounted it to the top of the cabinet.
not blowing up
I still wanted to make sure that, should the cooling system fail for one reason or another, the array wouldn’t start a fire, so I put a temperature probe on the array and set up an interrupt to watch the temperature and turn it off if it ever exceeded 65°C.
With that out of the way, there’s still one major problem: the cooling system doesn’t have any mechanism installed to actually dissipate the heat it carries away, so it’s essentially just dumping all of it into the reservoir. I could probably just install a fan and radiator, (and I plan on doing that eventually) but how long would it take for something bad to happen if I didn’t? I worked out a rough, worst-case estimate:
Not great, but okayish for the moment given that we probably won’t be operating at that high of a power level for more than 30 minutes at a time every 24 hours.
testing it out
I implemented a sort of sunrise-y effect with a fish one-liner:
for k in (seq 10 320); blight set (math "floor(($k.0/10.0)^2)-1"); sleep 2; end; sleep 20m; blight set 0and set up a cronjob to run it when my alarm went off. Yeah, a bit hacky——a better idea might be to set up NTP on-device and implement the timer/‘sunrise’ there——but this blog is already like 20 days late and having my alarm clock be a cronjob is probably more on-brand for me anyway.
Here’s a video of the thing, with the ‘sunrise’ effect sped up by around 30x:
links
You can find the (half-finished) cli client here and the (also half-finished) firmware here.